Ready for a post on my kiddos carnival ? Come on, we start today with Tom and Paul! ❤
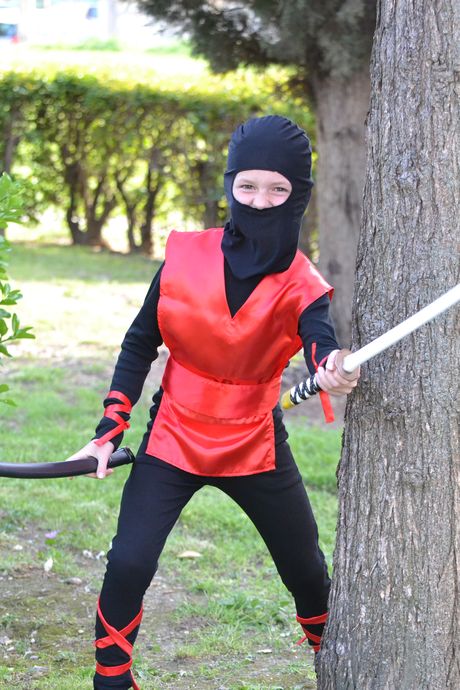
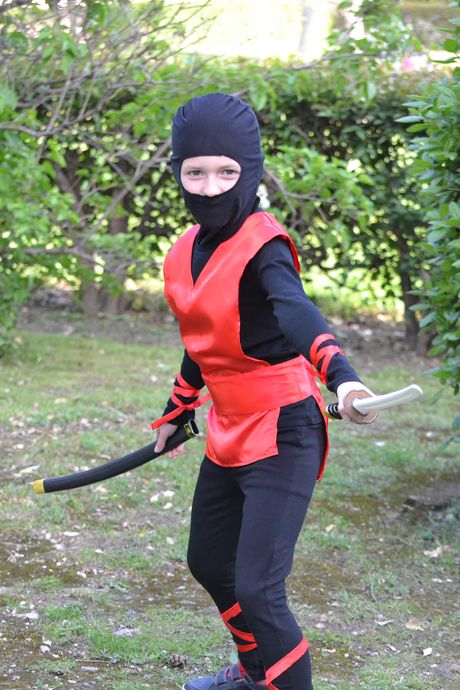
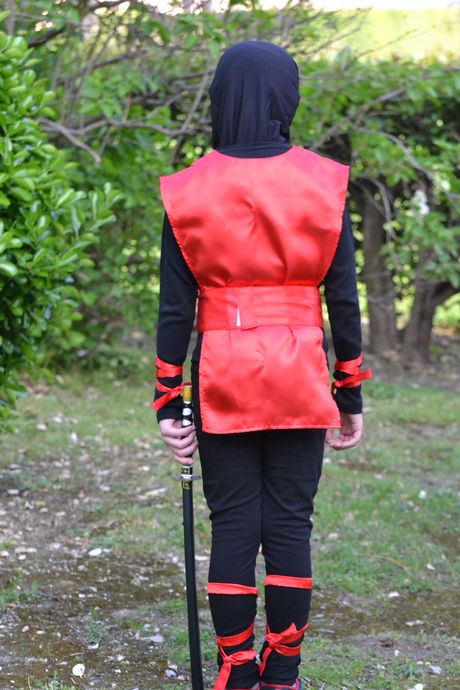
So, as you can see by yourself Tom chose to disguise himself as a ninja. To do so, I decided to mix RTW clothes (which can be reused later) and hand-stitched elements.
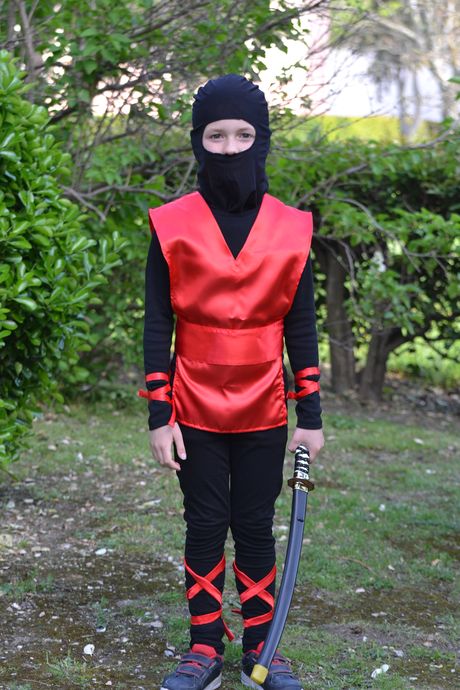
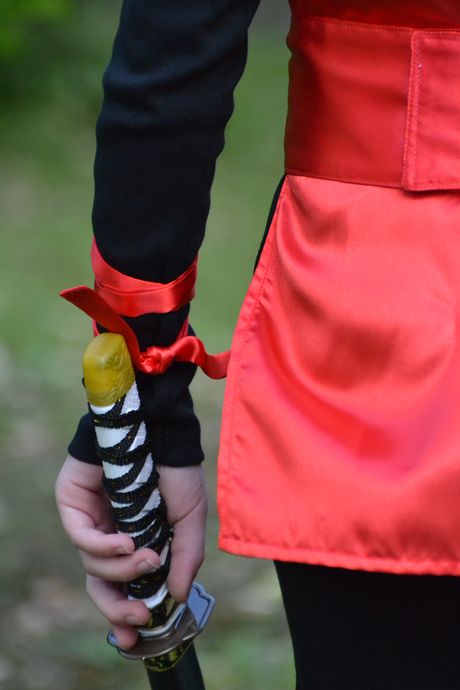
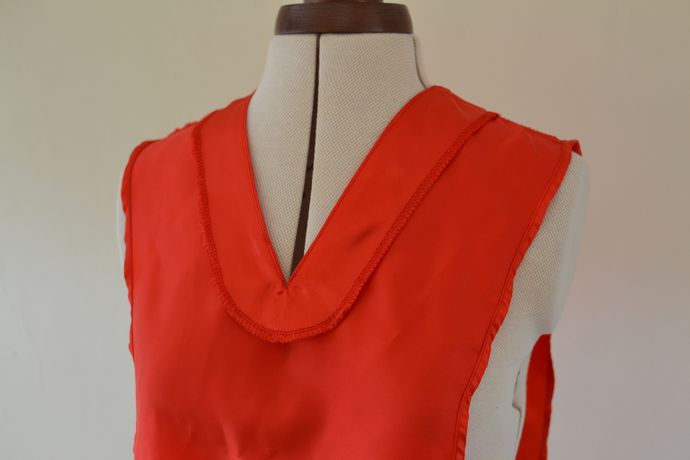
The t-shirt, the legging and the hood were bought in a store. I just sewed the pieces in red: the plastron and the ties for the ankles and wrists.
Do you recognize the fabric? These are the scraps of his magician costume from last year! (The belt is part of it, moreover).
I drew the plastron myself, which I cut in my scraps without making a toile beforehand … and obviously, the head did not pass. 😀 This polyester is impossible to unravel without pulling threads, I managed to cut a second plastron in what was left of fabric. The sides as well as the hems are simply double-hemed, and the neckline is finished with a facing.
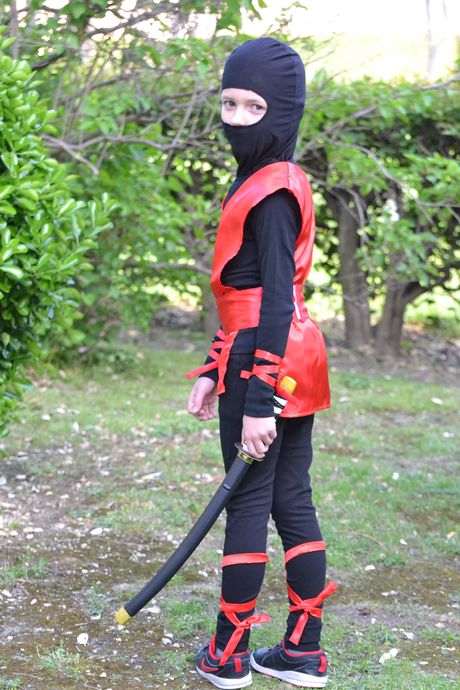
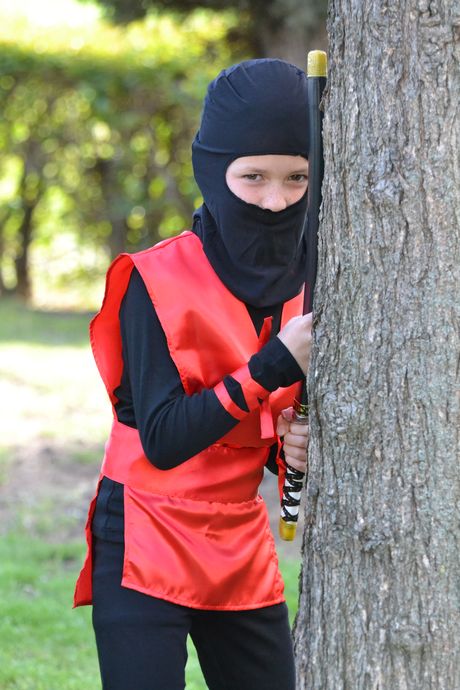
Verdict: it’s simple, it’s efficient, it didn’t cost much and Mr Tom was delighted: combo winner!
Let’s switch to Paul ?
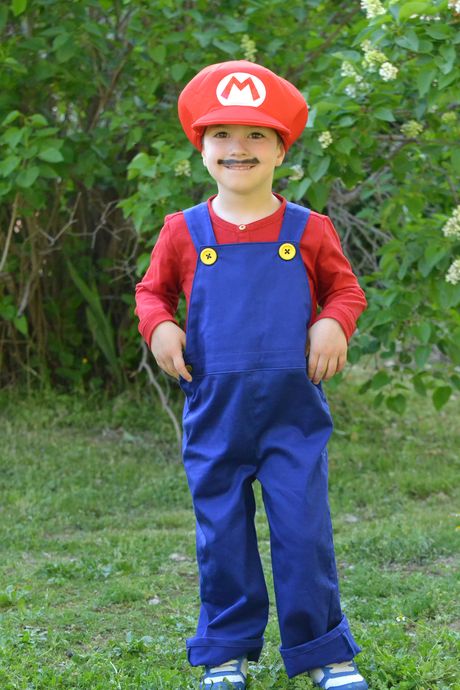
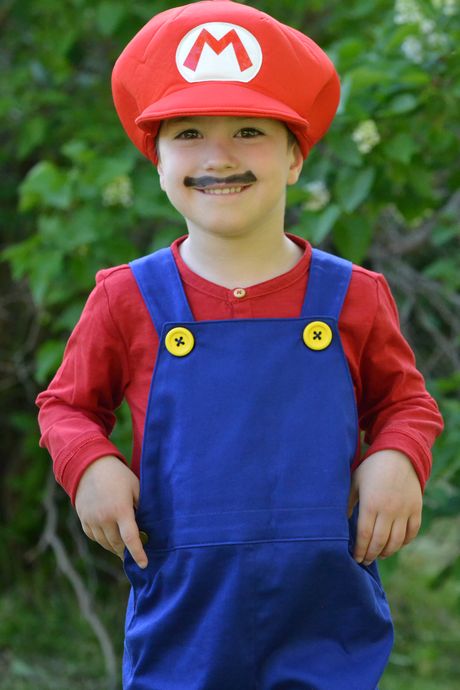
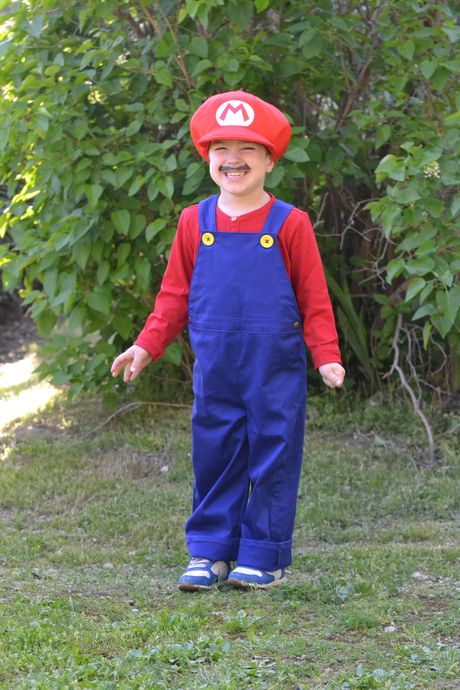
(Don’t tell me that you don’t crush on that smile, I won’t believe you.❤) (I’m crushing so hard anyway.❤)
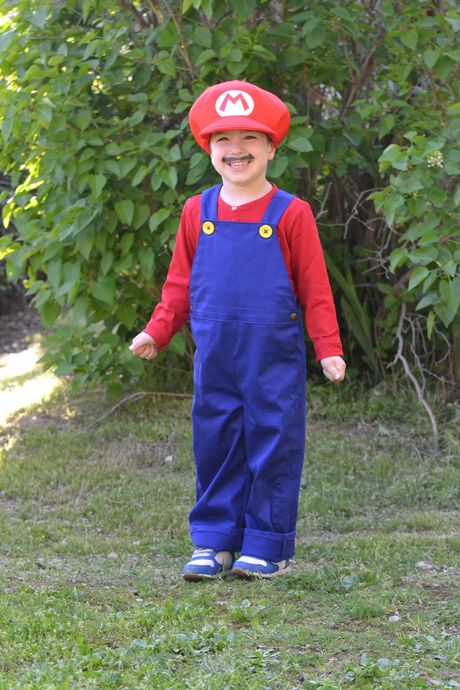
SO, Mr. Paul has decided, for his very first carnival, to disguise himself as Mario Bros. Who says Mario said electric blue overalls. And guess who had the perfect scraps for such a project? It’s ME! And yes, this overalls was made in the scraps of my Christmas dress! 😉
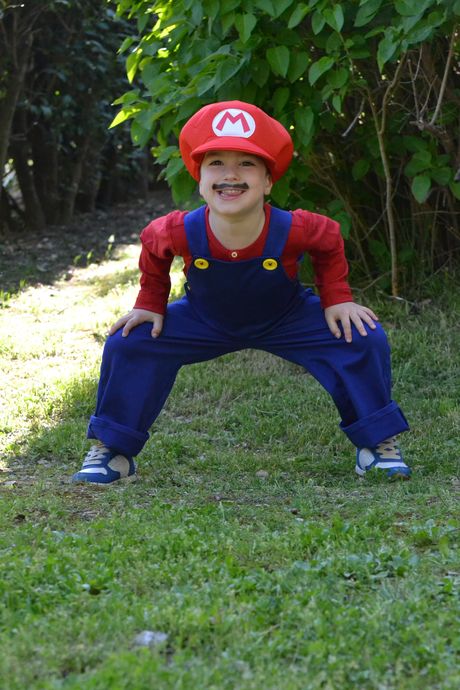
I was left with what was needed for this project. I looked for the most basic pattern of overalls possible, and as often when it comes to simple and effective patterns, I found it in Peek-a-Boo Patterns.
I chose the Okey Dokey Overall, greatly simplifying the task: I didn’t sew the pockets in front, or those of the back, or those aside. I also didn’t sew the fly, and I topstitched less than what was recommended: basically, I stitched all the parts where it was necessary (the bib for example), but not all seams (like those of the legs for example). The idea was to have the purest overalls possible. (ok, and to save time too 😀 )

I chose the 4 yo size, and as you can see in the photos, it’s a little long for Paul, but I tell myself that at least he can enjoy it longer.
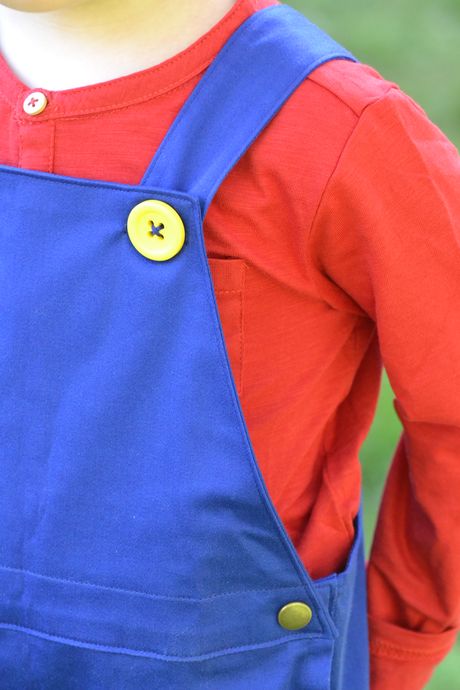
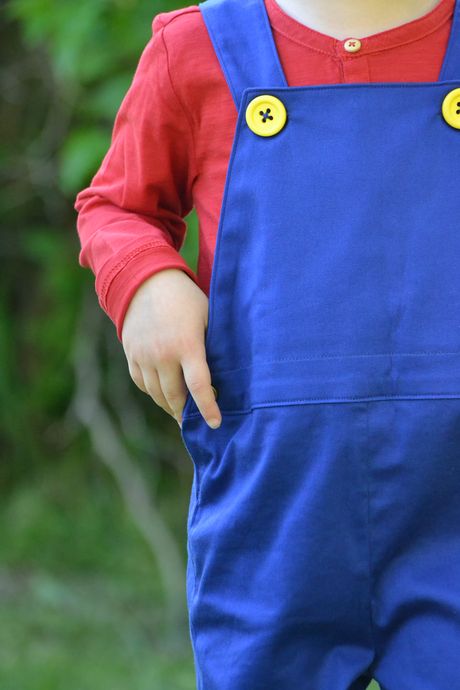
I replaced the buttonholes on the sides by snaps, more convenient for dressing. And to stick as much as possible to the character, I replaced the loops with yellow buttons, found at “La Droguerie”.
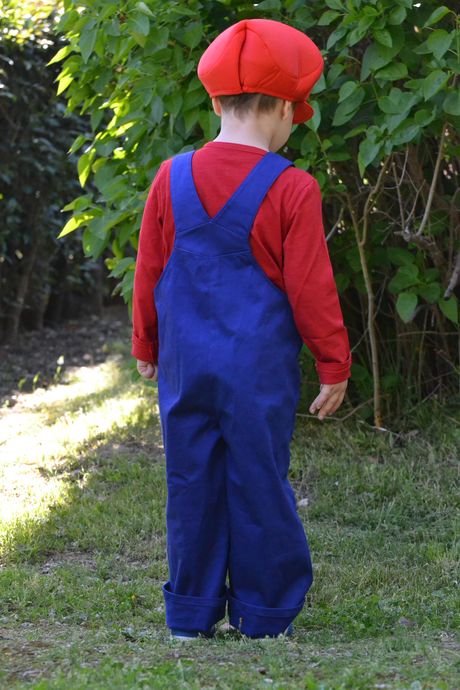
We check the comfort?
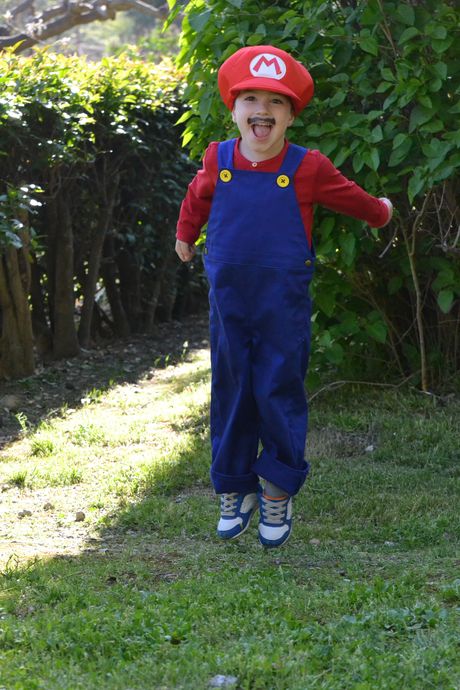
Well listen, it seems like a rolling business! ❤
Verdict: once again, the costume didn’t cost me much, and I’m happy because Paul will be able to wear it for a while (without the red top maybe, to avoid the total look 😀 ). As usual, I’m very happy with this pattern from Peek-a-Boo Patterns, and icing on the cake, the overall is up to 12 yo! (If ever the big brother wants to try Luigi next year. 😀 ). A delightful little kid + a coupon less in the stash + a proud mother = I like when a plan goes smoothly. 😉
❤❤❤
I’ll be back soon with Juliette’s costume, and in the meantime, take good care of yourself! ❤
Wow, you made the Okeydokey for a costume? I am right now making one for my son out of old jeans and it feels a bit . Even though I only did the front pocket… After your example I will also use snaps for the side. I already saw myself sewing a buttonhole by hand. 😛
All of your kids costumes look great, I think I will make an Alice apron for myself… Cooking in style. 😉
I. NEED. THE PICTURE OF YOU. IN THE APRON. ❤